This guide aims to give users a brief introduction to using Animator.
¶ Starting A New Project
To start a new project, first make sure that you are in the "Animator" tab.
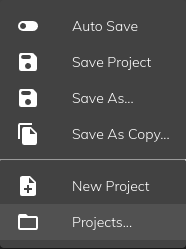
Select the New Project menu item under File in the top left.
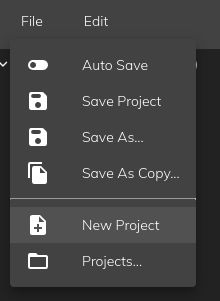
Then you will be greeted by a window where you can select what robot type you would like to animate. Gen 2 refers to robots with the latest mouth motors that offer a superior range in motion.
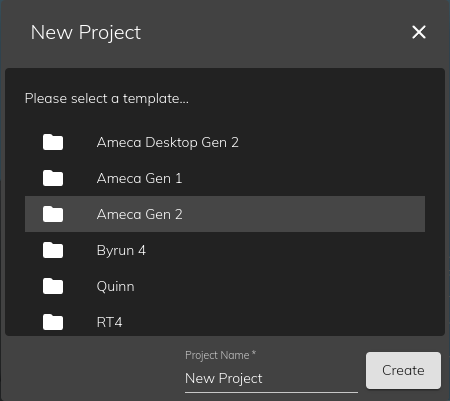
Give your project a sensible name and then press Create. New Projects will be saved in your user repo.
¶ Starting Your Animation
Animating with Tritium is very similar to other animation software.
First, click on robot to have access to the list of controls in the Controls section.
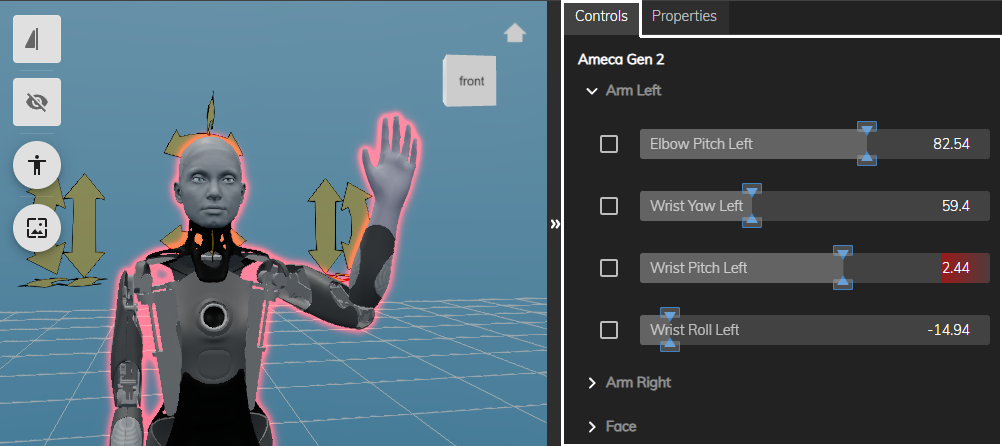
You can select manually which controls you want to interact with, or you can select them all by pressing Ctrl+A in the Controls Window. You can also select a specific group by clicking on the group name (Doing so will also deselect all controls in other group. Hold down the Crtl key to select multiple groups).
To start adding keyframes, make sure you are at the right instant on your timeline, and you have selected the right motion track. Move the controls sliders or click and drag parts of the robot to create the pose you desire. Once you are happy with the pose, press "i", or click on the "Insert Frame" button.
This will only create a keyframe for the controllers selected in the controls panel.

You can now move to an other instant on the timeline to an other keyframe, or tweak the one you just created.
Once you have created more than one keyframe, play your animation by pressing the play button, or the space bar.
Navigate by one keyframe to the next one on the selected motion track with shift + left or right arrow.
¶ Refining Your Animation
You can refine your animation by adjusting your keyframes until you're happy with the result.
¶ Edit Items:
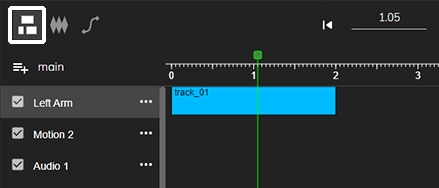
Your keyframes are stored in group called tracks (the blue rectangle).
You can easily move the tracks around to offset your animation on the timeline. Left click on a track to split, copy, delete or merge tracks together.
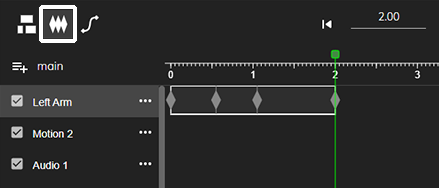
¶ Edit Frames:
For more control, click on the Edit Frames button, to visualize all the keyframes in a track. This way you can select one or multiple keyframes and move them around to rework the timing of your animation. Hold control down as you move multiple keyframes to scale them up or down, makeing your animation slower or faster.
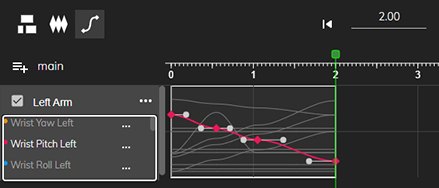
¶ Edit Curves
To control both time and value, select the Edit Curves. This way you can visualise for each controller their value at a specific time.

Select only the controllers you want to visualize to make it more readable. Use the bezier dots to control the interpolation between two frames of a bezier curve.
¶ Speech Generation
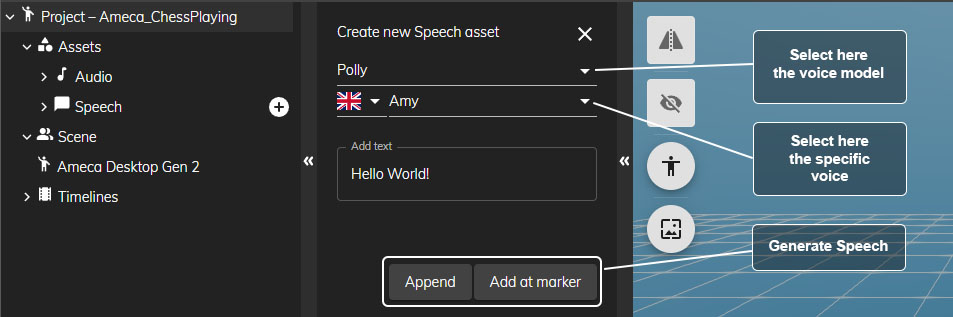
In the project window > Assets > Speech, click on the plus to open the speech generation window.
In the speech window, select your voice model, and then the voice. Each voice model has different voices available, and the delivery will be very different from one voice model to another.
Type in the text you wish to play, then click "Append" to add it after the last clip on the selected track, or "Add at marker" to add the clip at the cursor in the timeline.
Animator will automatically generate a lipsync to match the audio.
¶ Importing an audio file
You can add your own audio files to the timeline. Make sure to convert the audio file as an .ogg, and the simply drag and drop it to your timeline.
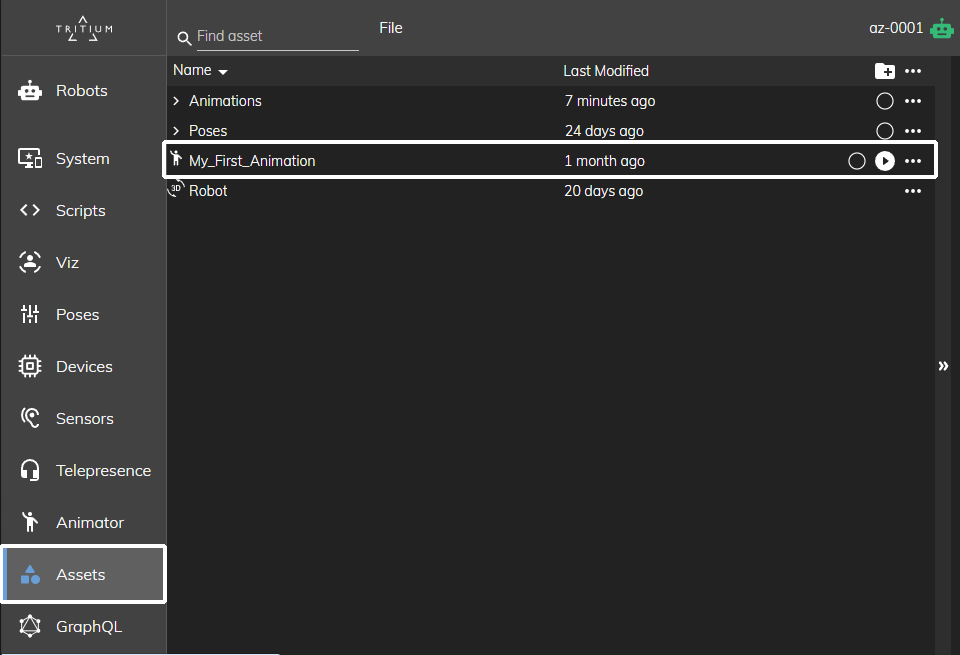
¶ Playing Your Animation On A Robot
To play your animation on a robot, you must first transfer it to the robot.
To transfer an animation to a robot, select the Projects... menu item under File in the top left.
You will be greeted by a window listing all of the content repos that you have access to, along with your assigned robots.
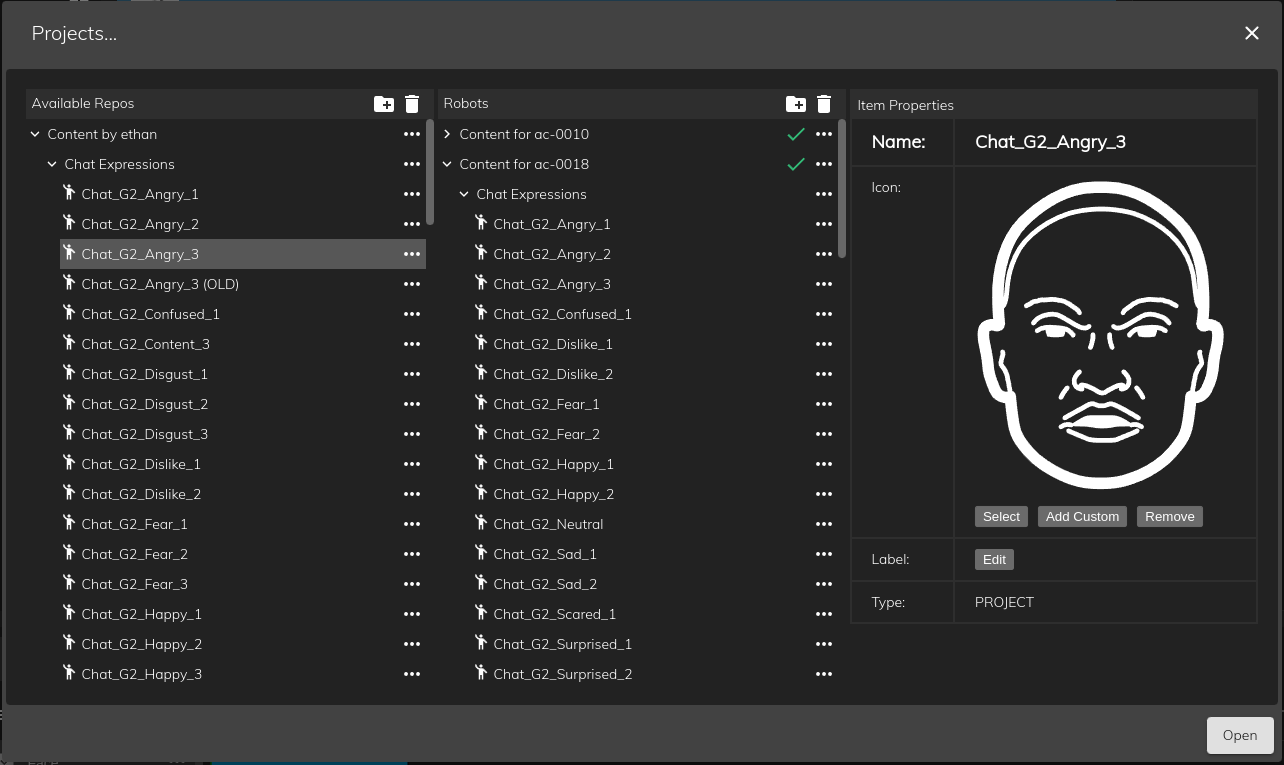
Select the animation/folder that you would like to transfer and drag it to the appropriate robot folder. The project(s) will then be transferred and will be accessible on your robot.
To play it, access the Assets Tab on the left, find your transferred animation, and press the play button.